Tutorial: Deployment in PhpStorm
Copy project files to a local or mounted folder, compare the copies, and configure automatic upload when you save changes. This setup transfers files, it does not build or start your application.
Configure the deployment server
Add a new server
Press Ctrl+Alt+S to open settings and then select .
Alternatively, go to in the main menu.
Click
 and select Local or mounted folder.
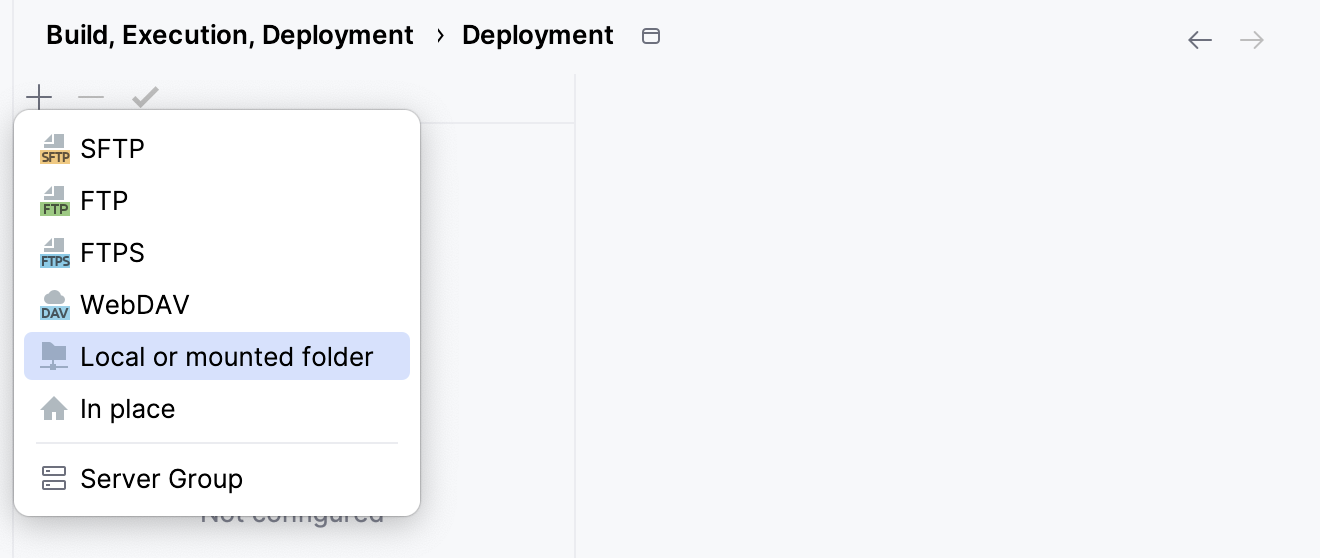
In the Create New Server dialog that opens, type the server name and click OK.
The new server is added, but it only shows the Web server URL http://localhost where you will actually browse your uploaded files.
Specify the server root folder
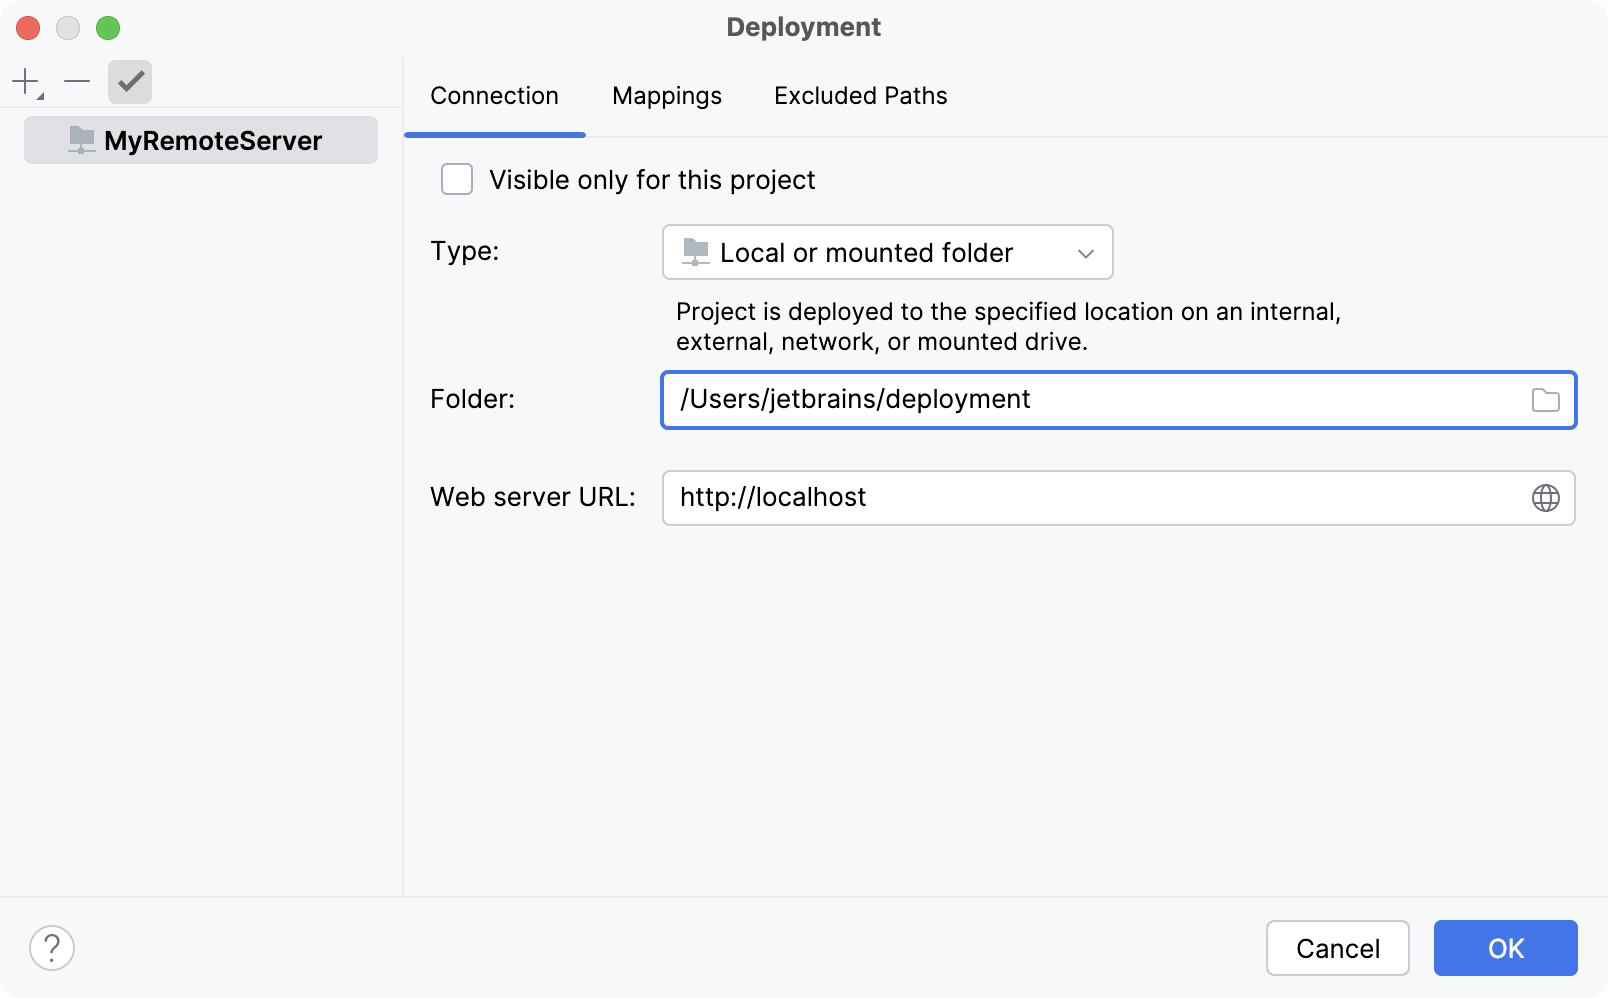
In the Folder field, specify the directory to which the project files will be uploaded.
Enter the absolute path to the destination folder you created, or click
 to select it.
In our case, this is the Users/jetbrains/deployment local folder. You can either type the path manually or press Shift+Enter.
Keep Visible only for this project selected to use this configuration in the current project. Clear it if you want to use the configuration in other projects or export it later.
Specify the deployment path
Next, switch to the Mappings tab.
However, you can select any other directory within your project tree. Let's use the default path.
In the Deployment path field (which is by default empty), specify the folder on your server where PhpStorm will upload data from the folder specified in the Local path field.
In this example, it's Application. This path is specified relative to the web server root folder, which is Users/jetbrains/deployment.
Leave the default / value for Web path.
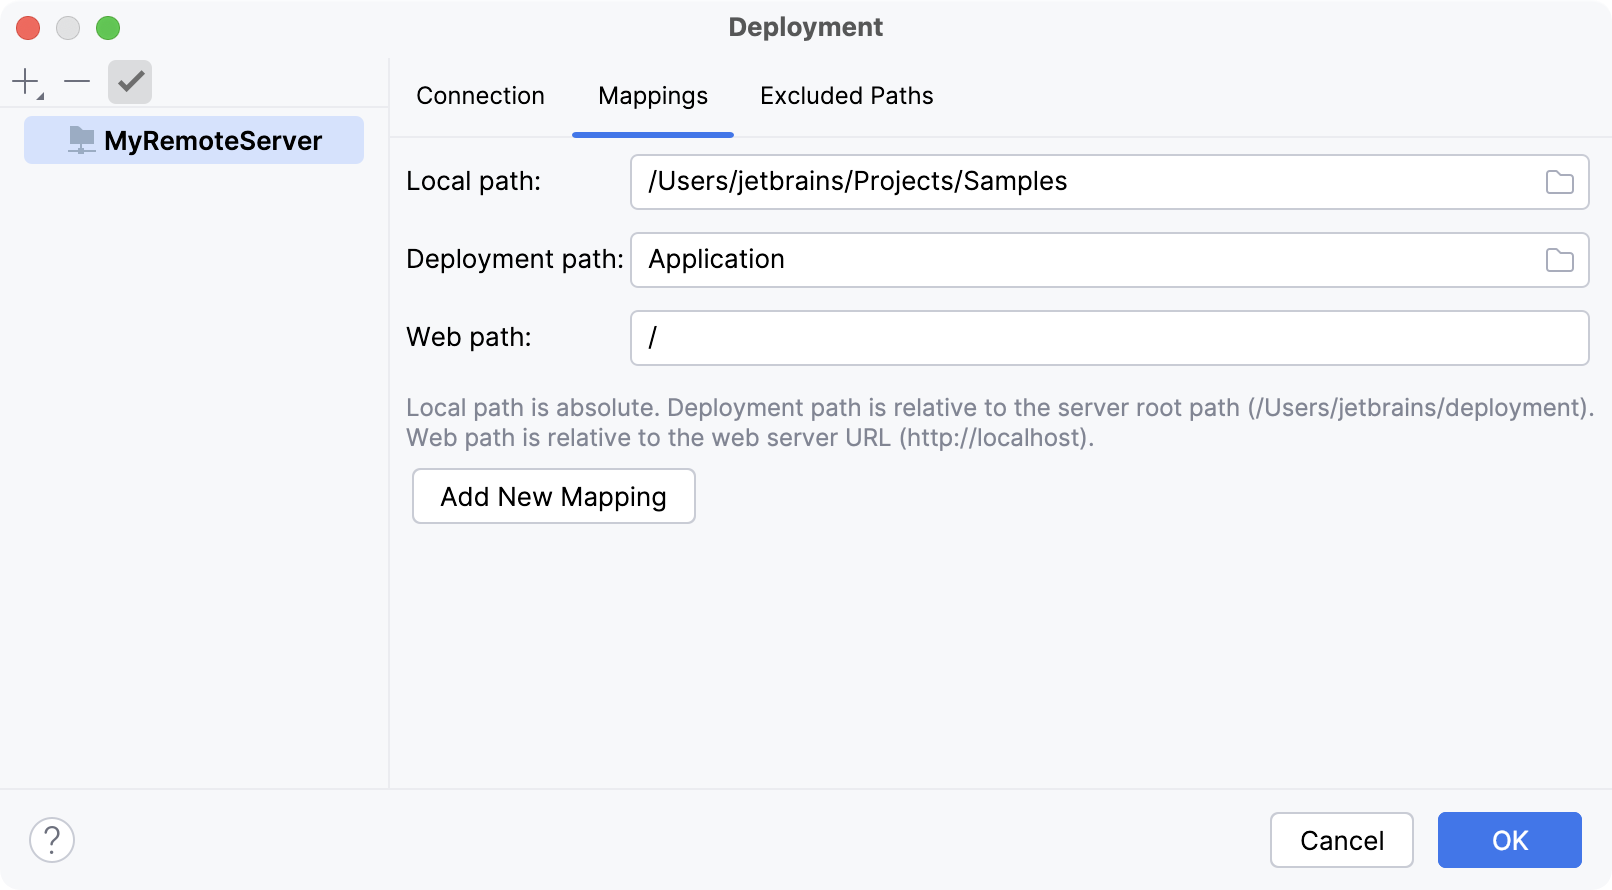
After you apply the changes, the server is ready to use.
Browse remote hosts
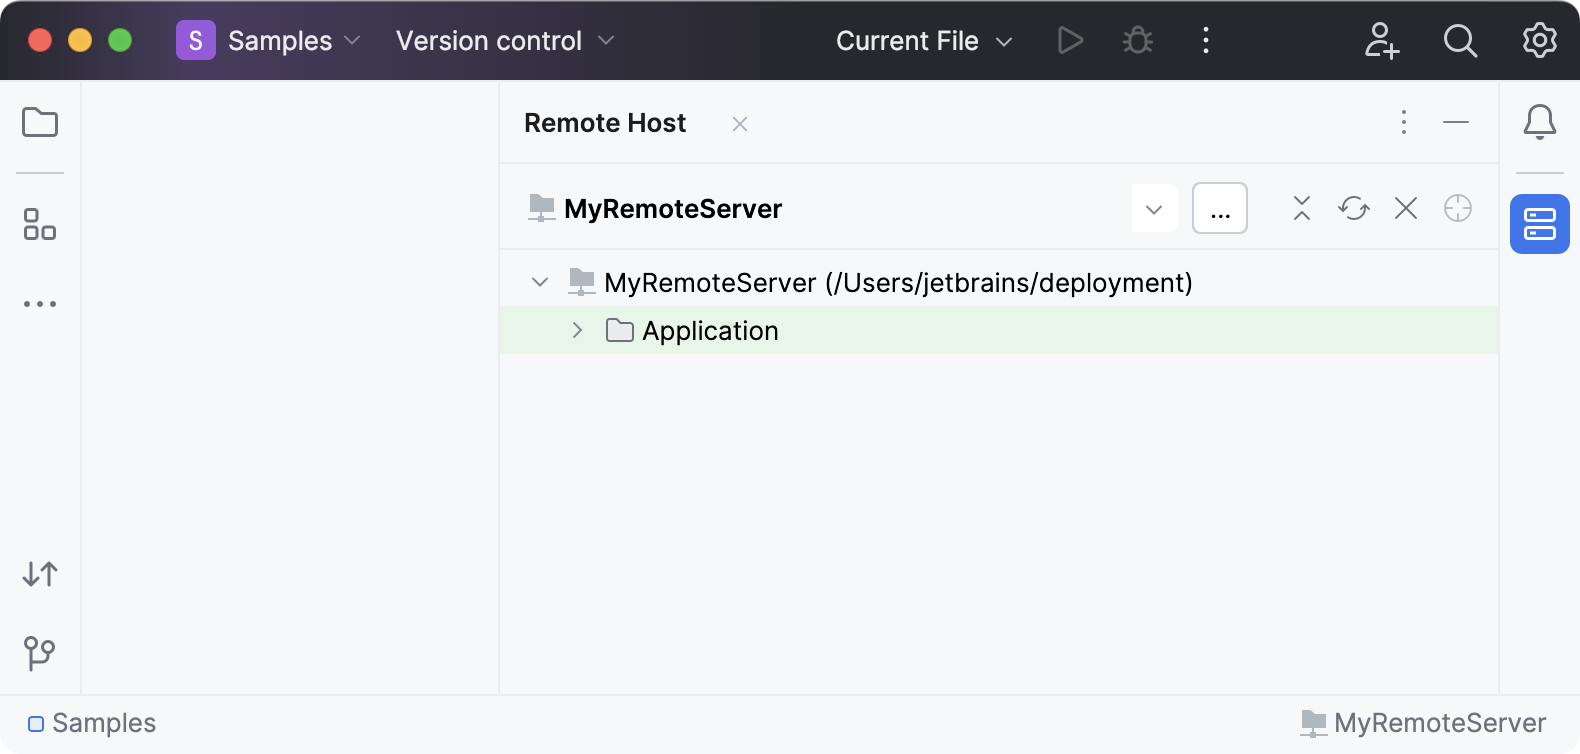
Select . In the Remote Host tool window, select MyRemoteServer to browse the destination folder.
Deploy files
Upload a file to the server
In the Project tool window Alt+1, right-click README.md.
Select . If this action is not shown, select and choose MyRemoteServer. Check the result in the File Transfer tool window.
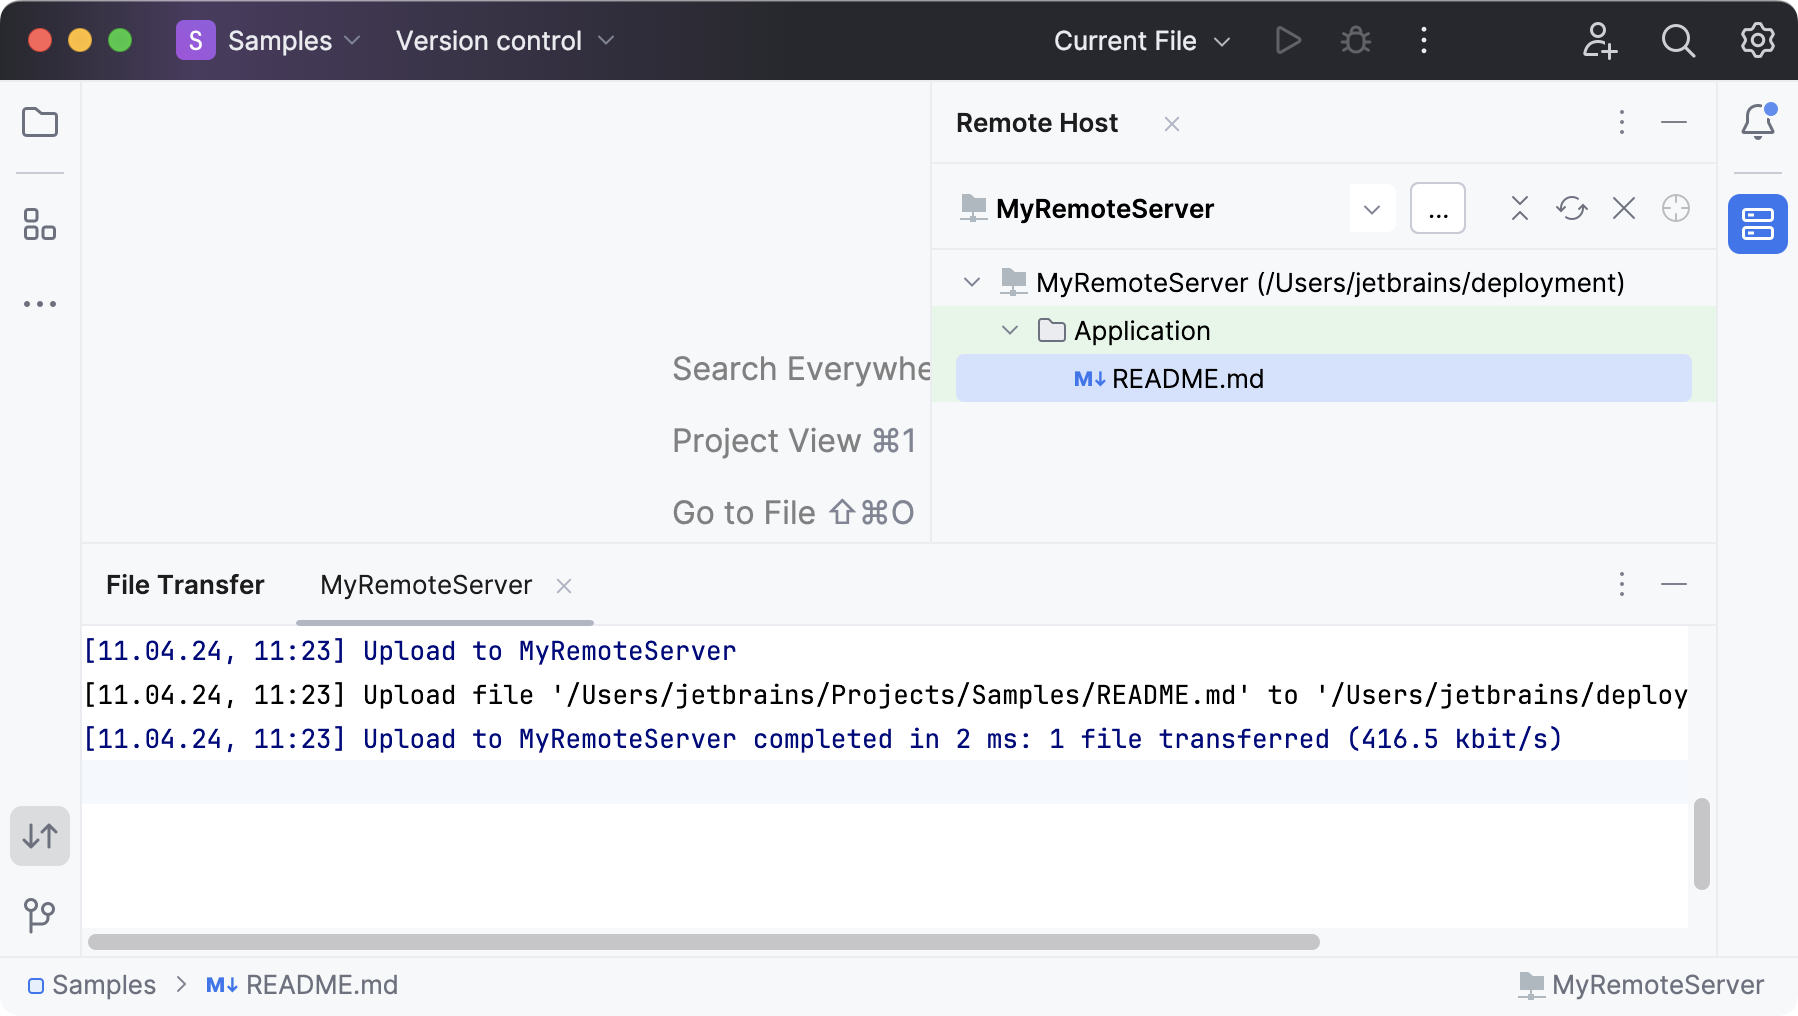
You can also upload the contents of each directory within your project. Right-click the directory you want to upload in the Project tool window and select .
Compare remote and local versions
There is a local and a remote copy of the README.md file, and they are identical. Modify the local version.
In the Remote Host tool window tool window, right-click README.md and select Compare with Local Version. PhpStorm opens the Diff Viewer.
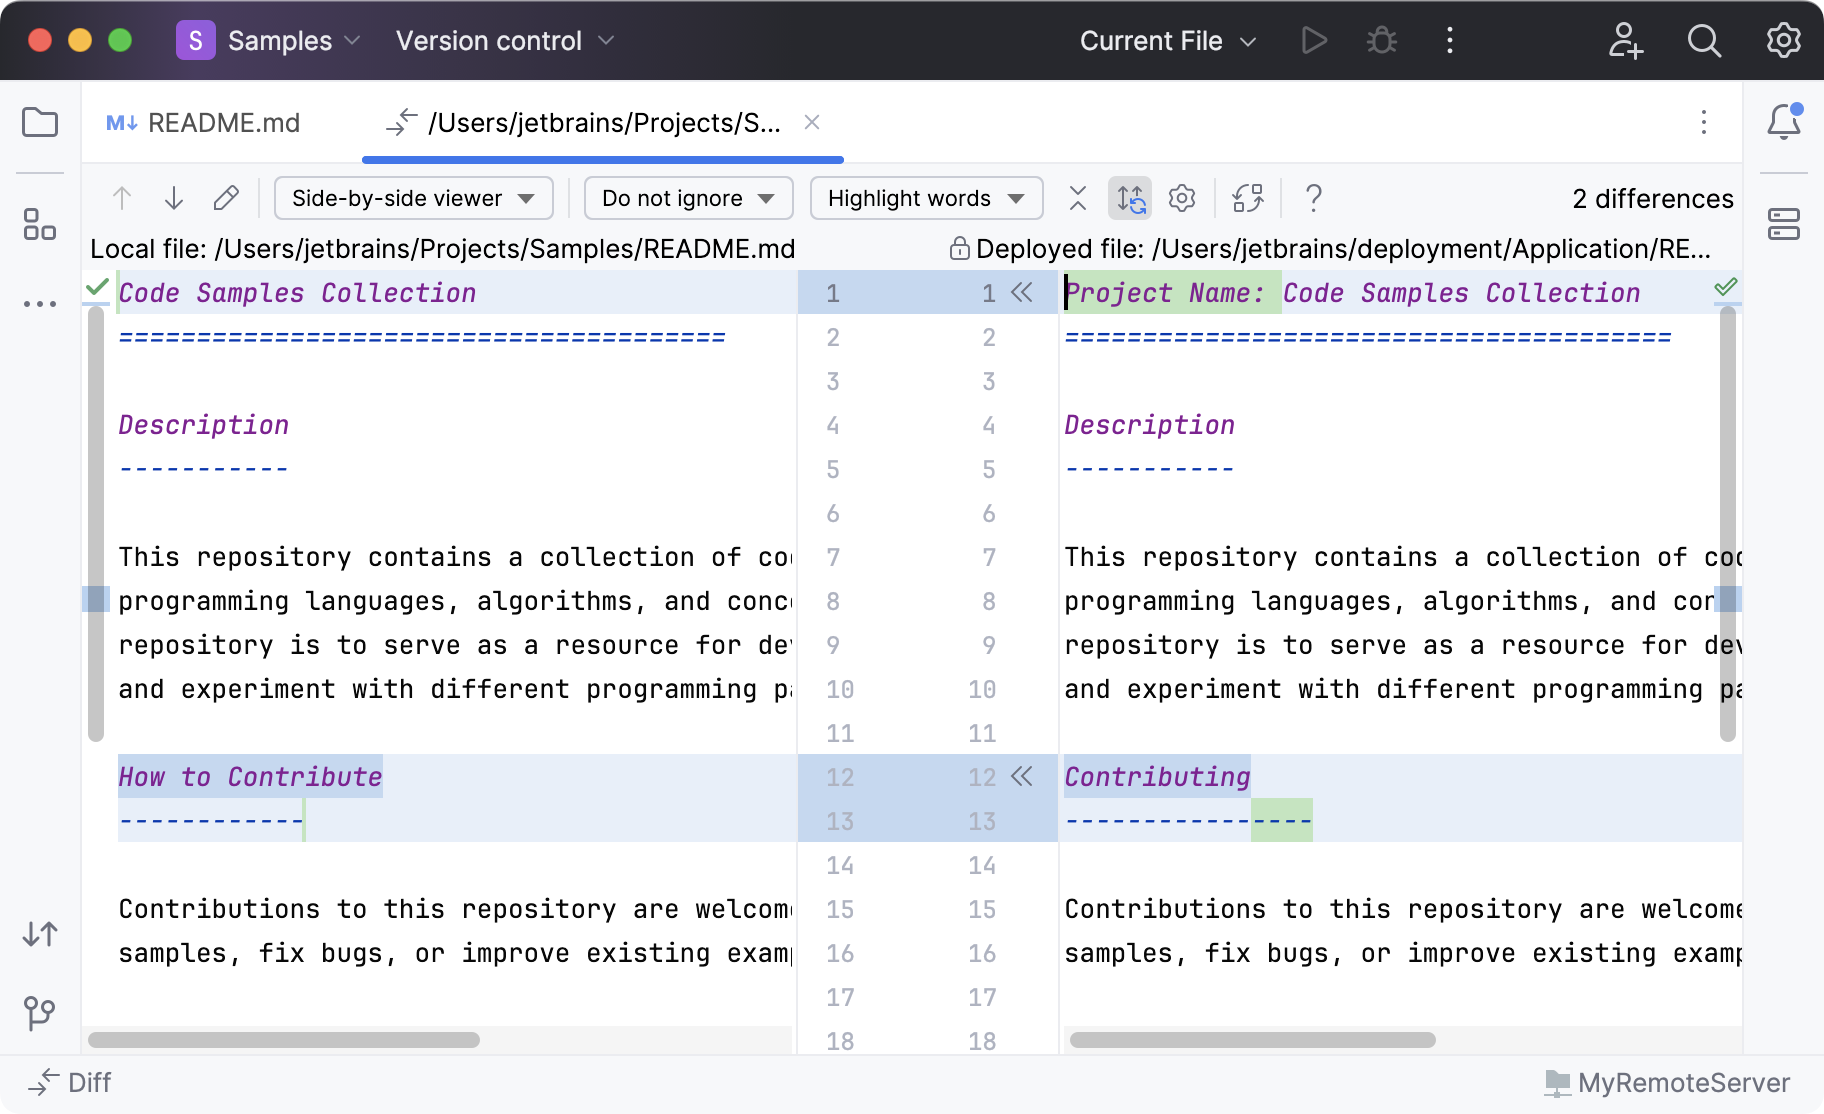
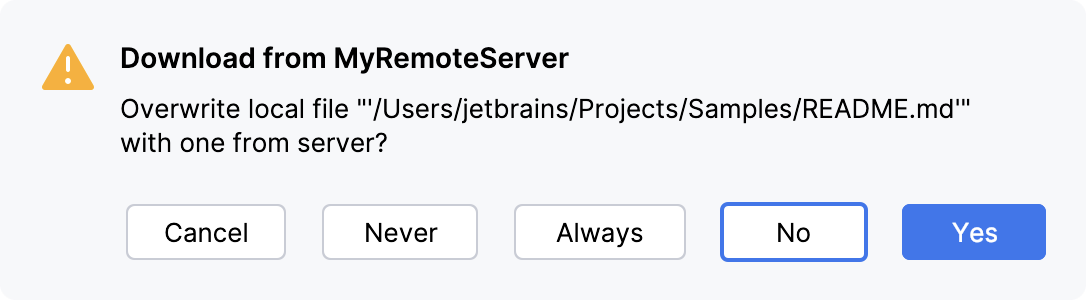
Download the file from the server
In the Remote Host tool window tool window, right-click the README.md file and select Download from here. PhpStorm shows a warning.
Synchronize the changes
Automatically upload files to the default server
When you need to have the exact same files on the server as in a PhpStorm project, automatic upload can be helpful. Automatic upload means that whenever a change occurs in the IDE, it will be deployed to the default deployment server.
A deployment server is considered default if its settings apply by default during automatic upload of changed files.
Define the default server
Press Ctrl+Alt+S to open settings and then select .
Alternatively, go to in the main menu.
From the list of servers, select the one you want to make default and click
 on the toolbar above the list of servers.
Enable automatic upload
As soon as the default server is set, you can make upload to this server automatic.
Press Ctrl+Alt+S to open settings and then select .
Alternatively, go to in the main menu.
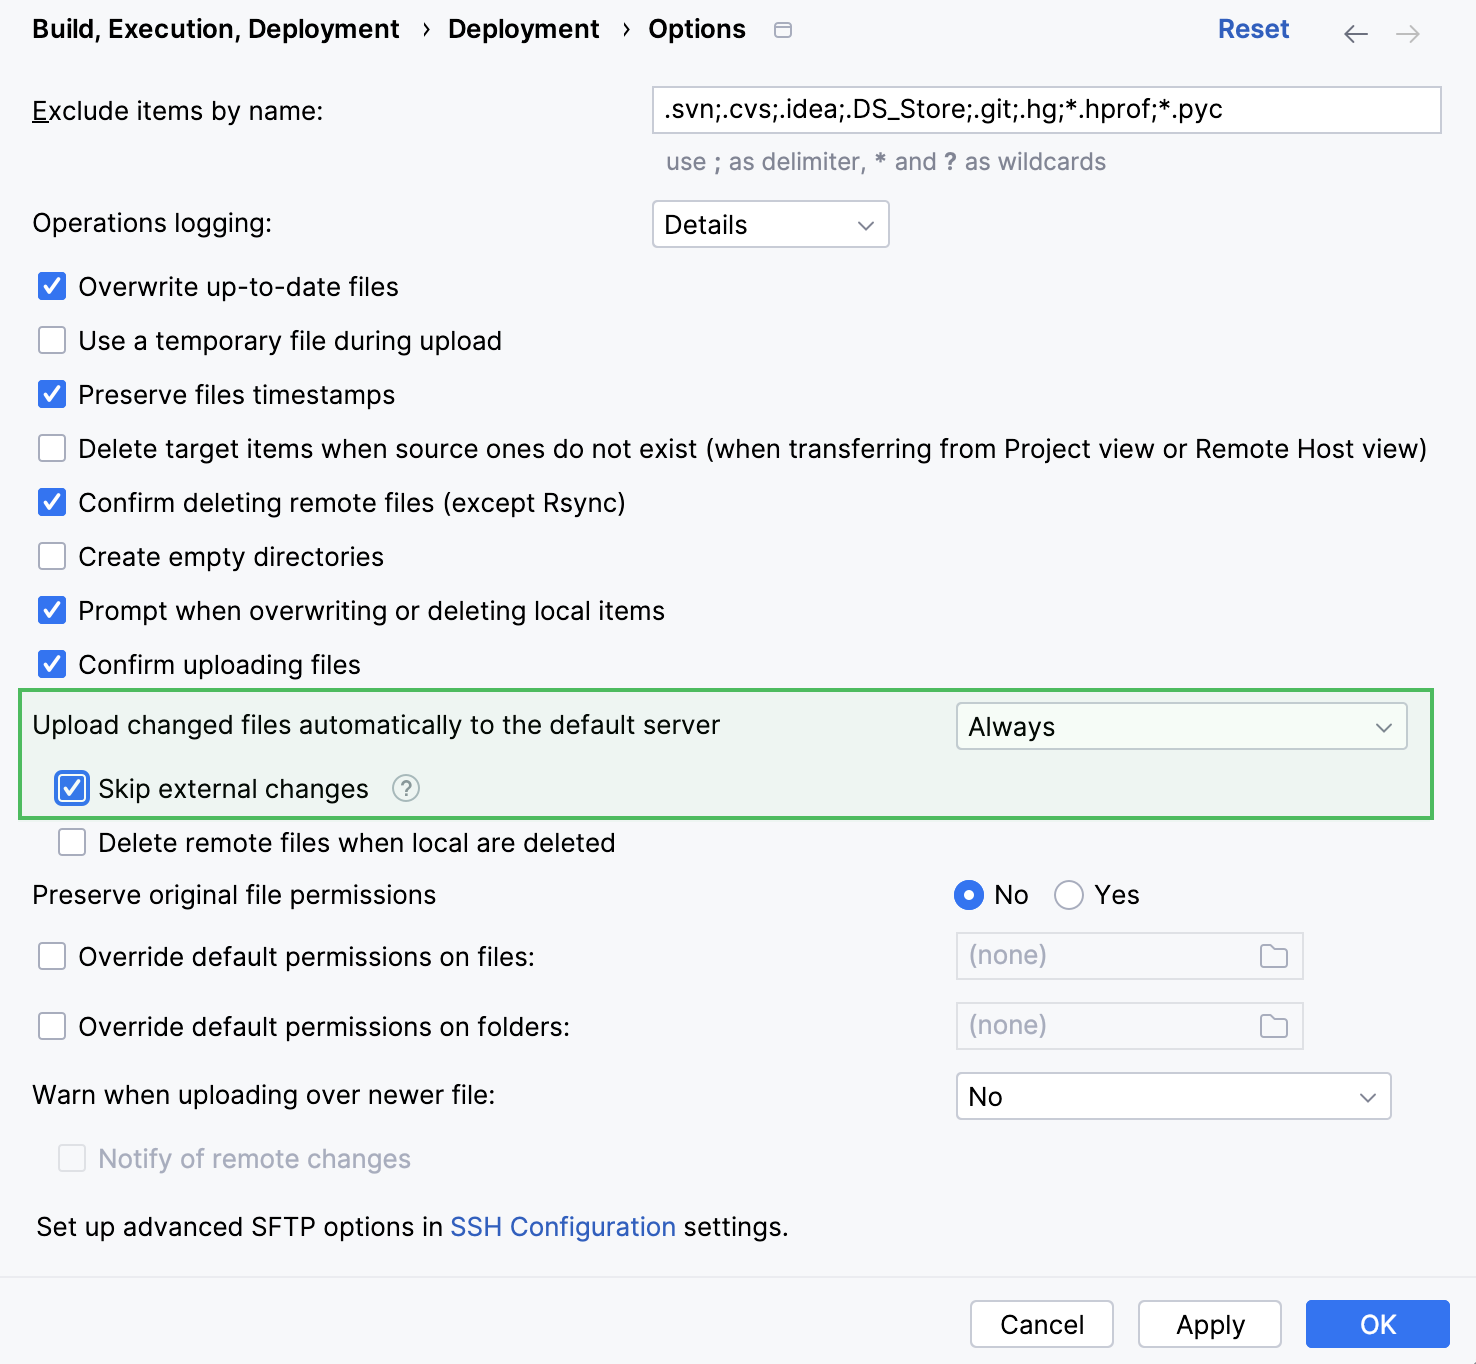
From the Upload changed files automatically to the default server drop-down list, select one of the following options:
Always: upload a file upon every automatic and explicit save.
On explicit save action: upload a file after save only if this save was invoked manually by choosing or pressing Ctrl+S.
The Always mode is not recommended for deploying to production: incomplete code can be uploaded while developing, potentially breaking the production application.
Upload external changes
External changes are changes made outside the IDE, such as a Git branch change or files updated by a code generator. They can come from tools run inside or outside PhpStorm.
To include these changes in automatic upload, open . Set Upload changed files automatically to the default server to Always or On explicit save action, and clear Skip external changes.
With On explicit save action, use Ctrl+S to upload the pending changes.
With Never, automatic upload is disabled and Skip external changes is unavailable.
Summary
You configured a local or mounted destination, copied and compared files, and enabled automatic upload. To transfer files to another computer over SFTP, create a remote server configuration.