Run a task
A Air Teams task runs in a cloud environment instead of on your machine. Start it in the browser at https://air.jetbrains.cloud, from an IntelliJ-based IDE, or from the Air app.
What happens to your changes
A cloud environment has a limited lifetime. Air Teams suspends it after a period of inactivity and archives the task a day later, so nothing that lives only inside the environment is safe. To make the result durable, Air Teams doesn't wait for you: it commits what the agent produced to a separate task branch and pushes that branch to the remote repository.
This happens after every agent turn, not once at the end. A task you send back twice with feedback leaves three commits on its branch. Nothing is staged for you to accept, and nothing is left uncommitted for you to review before it lands – by the time you open the task, the change is already on the server.
What this leaves you is review and iteration. You read the result, comment on it, and let the agent answer – which adds another commit – until the branch is what you want. Then you open a pull request from it.
Edits you make yourself
Files you add or change by hand aren't part of that. They stay uncommitted, and you commit them yourself from the Changes tool.
Do that before you send the next prompt. The agent's next commit takes everything in the working tree, so your edits go in with the agent's under the agent's commit message if you leave them uncommitted.
Before you start
You can start with the default cloud environment, but for many projects it is useful to configure the environment first.
To run tasks in the browser, you must first configure a repository connection. Without it, you cannot select a repository. Learn how to connect repositories.
If your project needs specific dependencies, environment variables, secrets, or integrations, create an environment configuration for the repository in advance. Learn how to configure environments.
Run a task
You can start a task in the browser or from the Air app.
Run a cloud task from the browser
Log in to https://air.jetbrains.cloud with your JetBrains Account.
On the New Task page, select an environment or a repository, and a branch. Selecting an environment runs the task with that configuration; selecting a repository uses the default environment. To run the task on several repositories, click Select Multiple – see Run a task on several repositories.
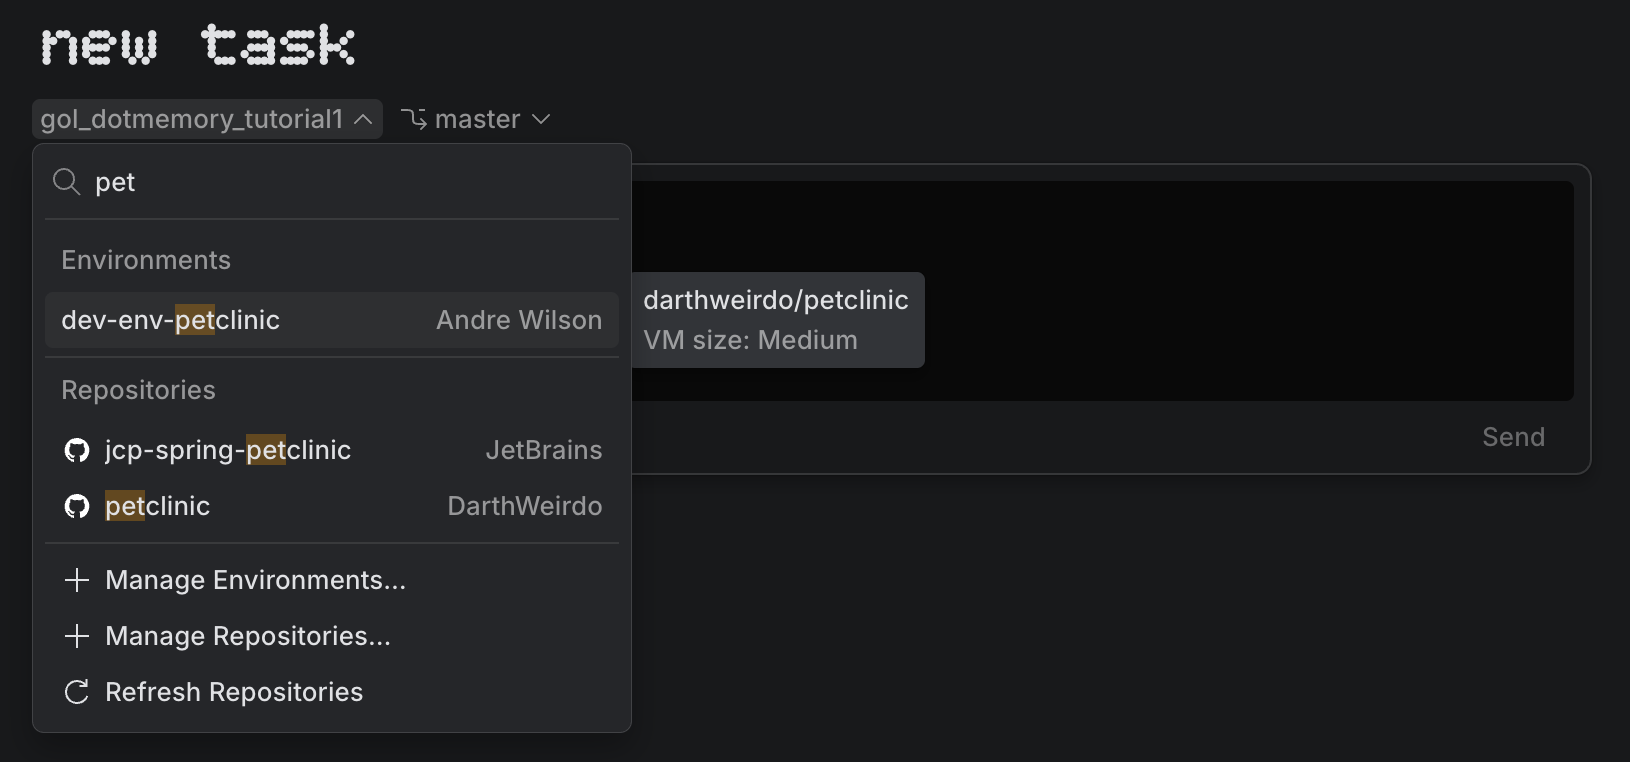
Choose the agent, the model and its effort level, and the permission mode.
The agent is fixed once the task starts, so this is the point to get it right. See Set up a task before you send it.
Enter your task prompt and send the task.
Type
@to reference files, branches, or commits, or/for the agent's commands and skills – see Add context and commands to the prompt.After the task starts, it appears in the left pane.
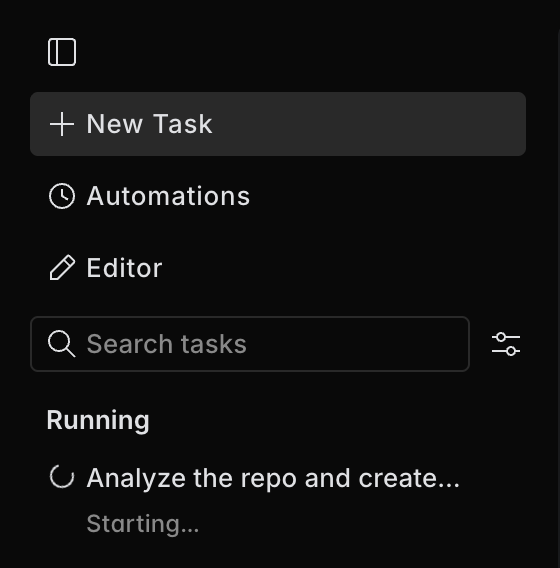
Open the task and review the agent's conversation and the diff. The browser loads the Air Teams editor into the page, so you get the changed files and code navigation alongside the conversation – see Work on a running task.
Leave your feedback where it belongs in the code: select a line and use Add Comment for Selection, or send a fragment to the task with Add to Task. To add context the agent didn't have, type
@and reference files, folders, branches, commits, or the local changes.Send the feedback. The agent works on it and Air Teams commits the answer to the task branch, so each round adds a commit. Repeat until the branch is what you want.
There is no built-in review pass in the browser. If the agent you selected ships a review command or skill, run it from the slash menu – type
/in the task input. The Air app has review with agent built in.The task branch is already pushed, so open a pull request from it – see Create a pull request.
Run a cloud task from the Air app
Open your project in the Air app.
Start creating a new task.
In the task run environment selector, choose Cloud.
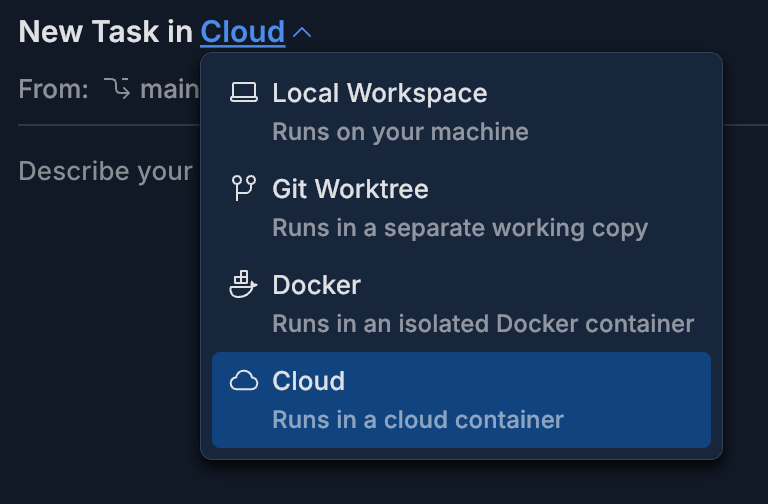
Enter your task prompt and send the task.
Run a task on several repositories
A task can work on more than one repository at once. Use it when the work spans code that lives apart – for example, a service and its clients, or an application and a repository of shared configuration. Air Teams clones all the repositories into one cloud environment, and the agent works across them.
- How a multi-repository task works
The first repository is the primary one – the environment is set up for it, and the other repositories are cloned next to it every time the environment starts.
Each repository gets its own folder – the repositories are cloned side by side into /workspaces/<repository>, and the agent starts in /workspaces. Because the folder is named after the repository, you can't combine two repositories with the same name, such as a fork and its upstream.
Providers can differ – a GitHub repository can sit next to a GitLab one. You need access to every repository you add.
Each repository has its own branch – you can check out any branch in any repository. The task creates a task branch with the same generated name in each repository, and after every agent turn, Air Teams commits the changes to each repository separately.

The tools show every repository – Files lists each repository as its own root, with a filter to narrow the tree to one. History shows one repository at a time, and its branches, commits, and Git actions follow the repository you select. The terminal opens in /workspaces. This works the same when the environment isn't running.
Repositories only – a task combines repositories, not environments. An environment configuration holds one repository.
Repository limit – you can add up to 10 repositories next to the primary one.
- Startup scripts, MCP servers, and skills
Every repository can have its own setup and agent files. Air Teams handles them as follows:
Startup scripts – the startup script (.air/cloud/startup.sh) of every repository runs before the agent starts. Run order is undefined.
MCP servers – Air Teams combines the .mcp.json servers from all repositories, and the agent gets each of them alongside your connectors. Give servers unique names across the repositories to avoid conflicts.
Skills – skills from all repositories are available to the agent. As with MCP servers, keep skill names unique across the repositories.
Instructions and commands – files such as AGENTS.md and CLAUDE.md, and custom commands, aren't combined. They stay in their repository, and the agent starts above all of them, so don't count on them for rules that apply to the whole run. Put those in the task definition or the automation's Instructions.
Start a task on several repositories
On the New Task page, click the repository selector.
Next to Repositories, click Select Multiple.
Select the checkbox next to each repository the task needs. The first one you select is the primary repository.
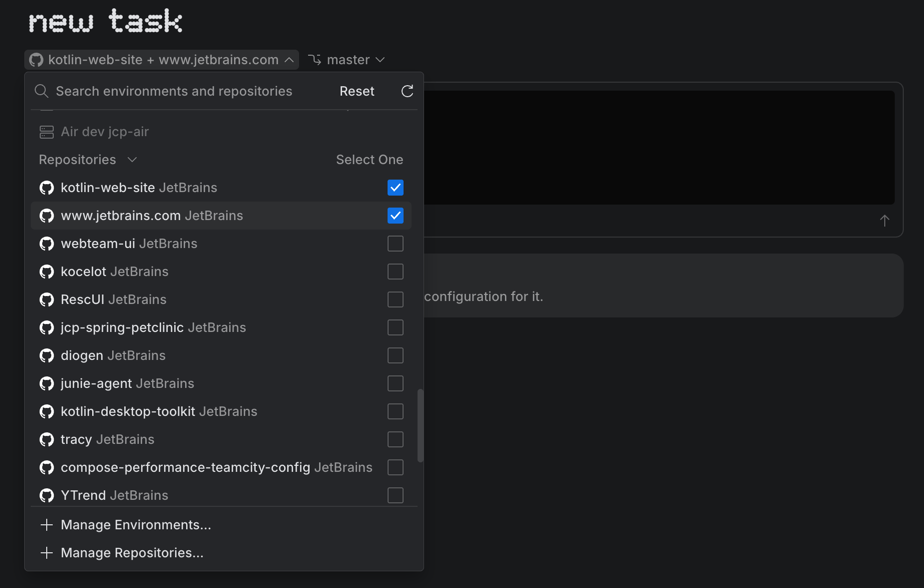
To clear the selection, click Reset. To go back to a single repository or an environment, click Select One.
In the branch selector, choose the branch to check out in each repository.
Describe and start the task. Tell the agent which repository holds what and which ones it should change.
The changes are committed to each repository separately, and the Changes tool groups the commits and changed files by repository.
To open a pull request, click Create PR in the task header, and then click Create PR next to the repository. Each repository gets its own pull request, so repeat this for every repository you want to merge.
Run a task from an IntelliJ-based IDE
You can start a cloud task from the AI Assistant plugin in your IntelliJ-based IDE. This lets you stay in the IDE while the task runs in the cloud. You can monitor the task execution in Air Teams in the Tasks tool. You can also open your account page at air.jetbrains.cloud to see your running tasks.
Run a cloud task in an IntelliJ-based IDE
In your IntelliJ-based IDE (for example, IntelliJ IDEA), open AI Chat.
If the agent supports remote runs, a panel with a switcher for running it in the cloud appears. Switch to Cloud mode.
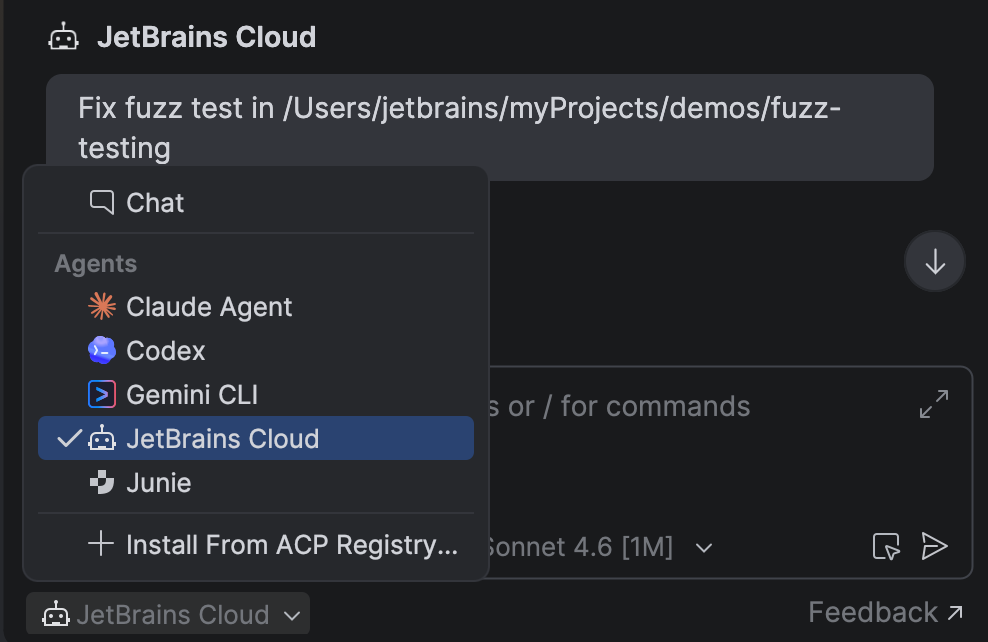
If you run the cloud task for this repository for the first time, the plugin prompts you to authorize the JetBrains Air connection app to access your repository.
Select a branch and a model to run the task.
Type a task and click Send.
The agent runs in the cloud and writes its changes to a separate branch. When it finishes, you can review results by clicking View Commits and merge the changes into your working branch by clicking Merge.
Alternatively, click Open in JetBrains Cloud to open air.jetbrains.cloud for monitoring your tasks in the web interface. If the task hasn't started yet, the link takes you to the New Task page instead – see The task link from the IDE opens the New Task page.
For more details, refer to the JetBrains AI Assistant documentation.
Resume a suspended task
After 75 minutes of inactivity, Air Teams suspends the task's cloud environment and marks the task Suspended. Your results are safe on the task branch, and you can start the environment again while the task stays suspended.
Resume a suspended task
Open the suspended cloud task.
Click Resume. Air Teams starts the environment again, and you can continue reviewing or working on the task.
The environment returns as it was, with the working tree, installed packages, and caches. Running processes are the exception, so restart servers, watchers, and anything else the task had running. See Snapshots and preserved state.
You can resume a task only while it stays suspended. After 24 hours of inactivity, Air Teams archives the task – you can still open it to view the chat history, but Resume is no longer available, because the environment can't be restarted. Your results remain on the task branch. See Cloud environment lifecycle.